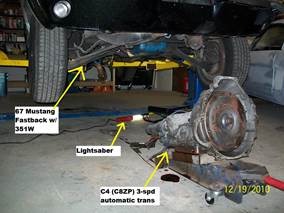
Automatic Transmission Removal – C4 FORD

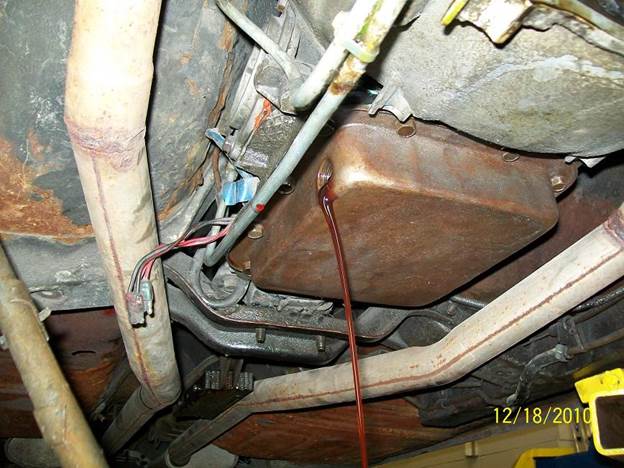
2. Drain the transmission fluid out of the pan. My C4 has the dipstick tube on the side of the pan, so I removed it (7/8” fitting) to
drain the fluid. If your C4 doesn’t have the tube there, you’ll have to pull off the entire pan (and probably get fluid all over your shirt)
by removing the 11 bolts along the flange.
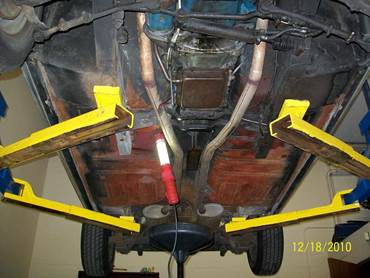
3. Place the car on jack stands or on a lift. The car must be really stable, as later you will be tugging around on stuff while you’re
underneath it. You’ll mostly be working from underneath, but I did find it useful to access a few things from the topside.

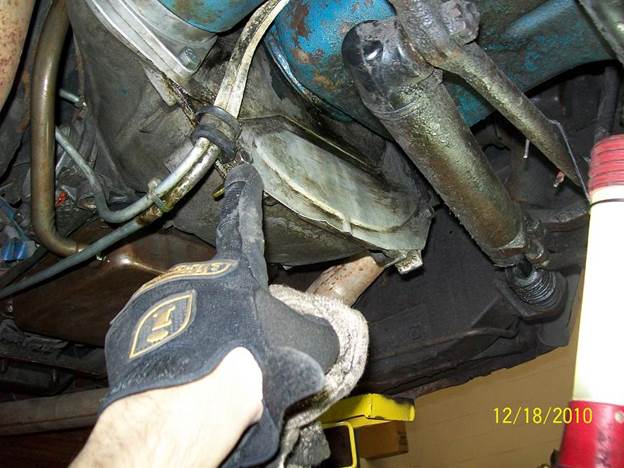
4. Remove the driveshaft. Start by removing the 2 U-bolts (at the rear-axle end of the driveshaft). Mark the U-bolts and
driveshaft so that later you can reassemble them in the same relative positions. Next, while holding up the free end of the
driveshaft, carefully slide the other end out of the transmission tail housing and set the driveshaft aside. Be prepared to catch
the transmission fluid that will leak out of the tail housing.

4. (cont.) Driveshaft removed, looking at output shaft of the trans.
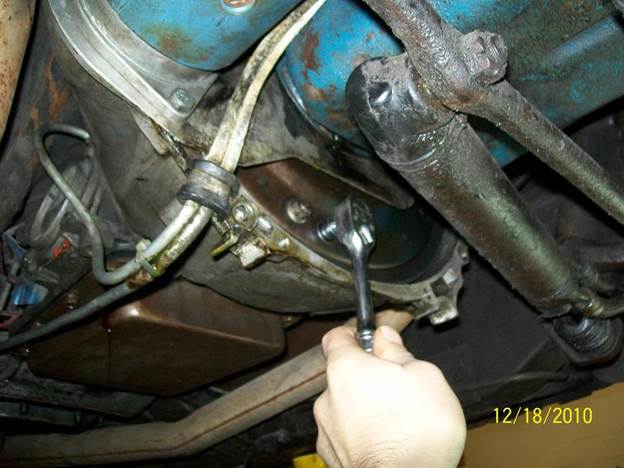
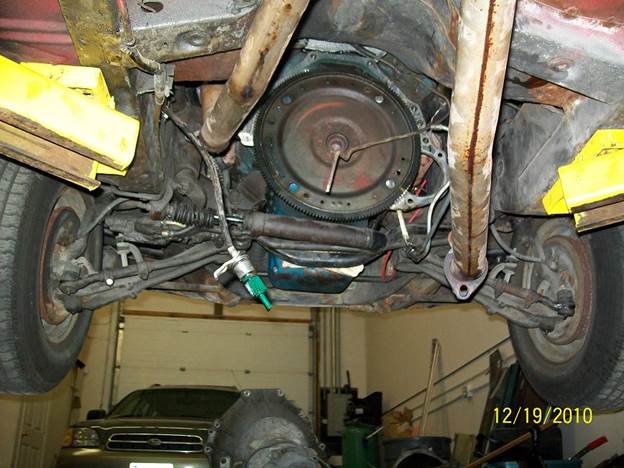
5. Remove the torque converter cover. Mine had two 1/2” bolts (here I’m pointing at one of them, which also retains a p-clam
for the transmission fluid cooling lines).
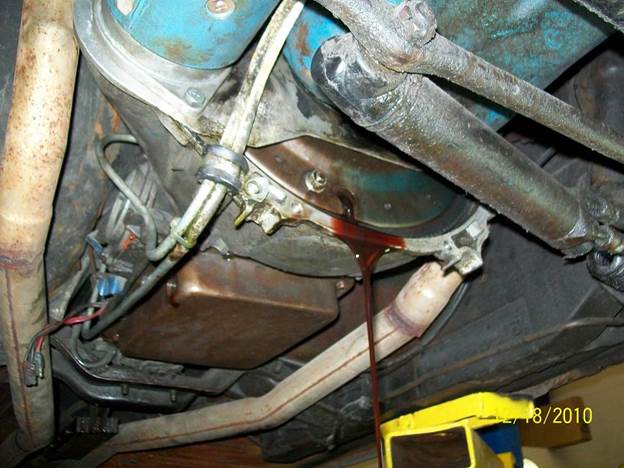
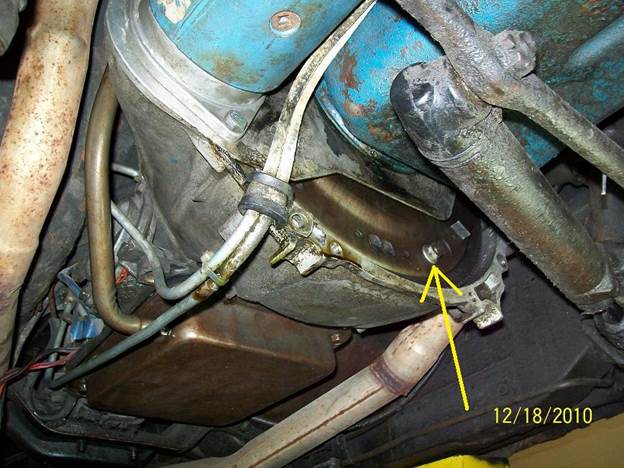
6. Drain transmission fluid out of the torque converter. With the converter cover removed, you should be able to see the small
drain plug. If necessary, rotate the engine until you see it. I was able to rotate the engine easily by turning the crankshaft pulley
nut (15/16” socket) clockwise. Reinstall the drain plug after all fluid is drained.
6. (cont.)

6. (cont.)
7. Remove the four torque-converter-to-flywheel nuts. Again, you will have to rotate the engine to get to them all.

8. Remove the starter motor and set it aside. You have to remove two bolts and also disconnect the starter cable.
NOTE: MAKE SURE TO DISCONNECT THE BATTERY + TERMINAL BEFORE MESSING WITH THE STARTER MOTOR!
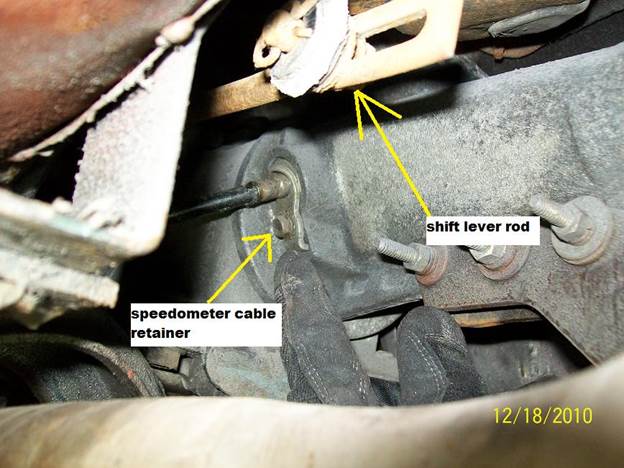
9. Disconnect the shift lever rod and speedometer cable. 10. Also disconnect the spring from the downshift lever on the
left side of the transmission.

10. Speedo gear. The cable goes directly to your speedometer in the instrument cluster.

11. Disconnect the two transmission fluid cooling lines (1/2” fitting). Disconnect the vacuum hose - just pull it off of the steel
line that runs up to the en gine. Also disconnect the neutral start switch connector.
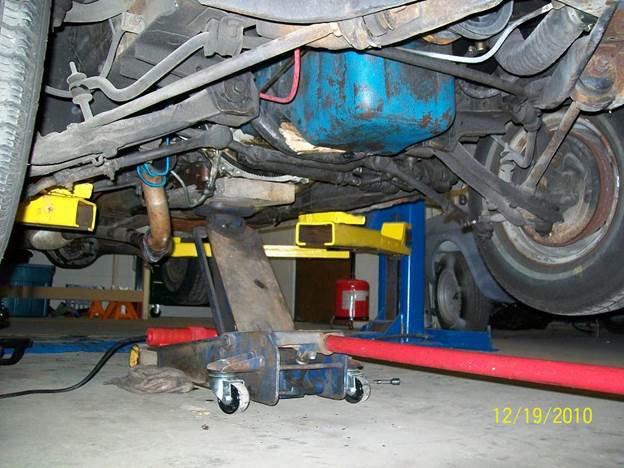
12. Now it’s time to get a transmission jack (or floor jack in my case) under the transmission pan. Raise the jack just enough
to support the weight of the trans, but without actually lifting it.
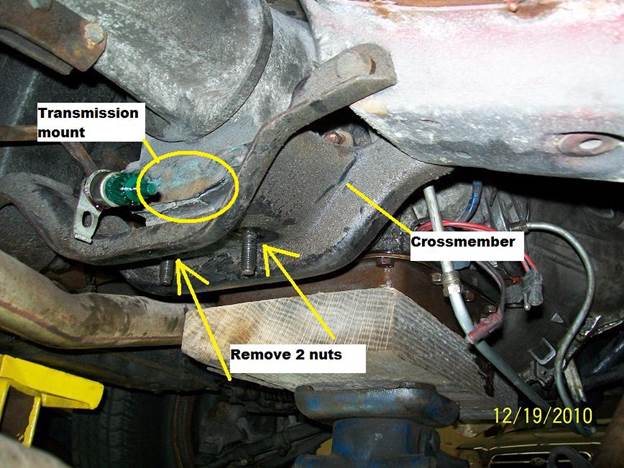
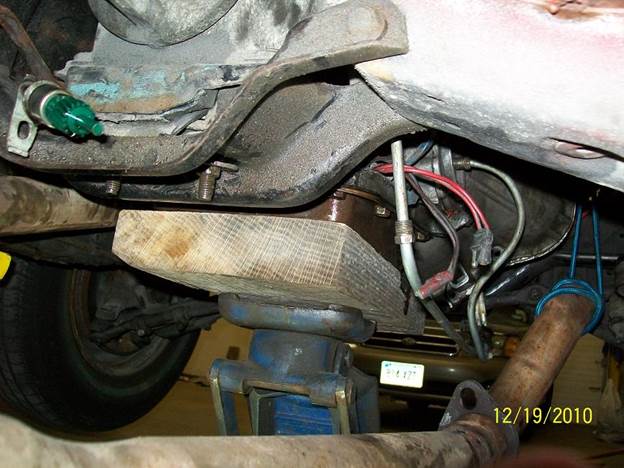
13. Remove the two nuts that hold the transmission mount to the crossmember. 14. With the two nuts removed, raise the jack
just enough to break contact between the transmission mount and the crossmember. Remove the two through-bolts that support
the crossmember, pull down the crossmember and set it aside.
14. Support the weight of the engine. As shown in the photo below, I used a few wood shims jammed between the engine oil pan
and the crossmember below it. This is necessary because once the transmission is removed, the engine otherwise supported only by
the two engine mounts and it could potentially tip forward or backward.
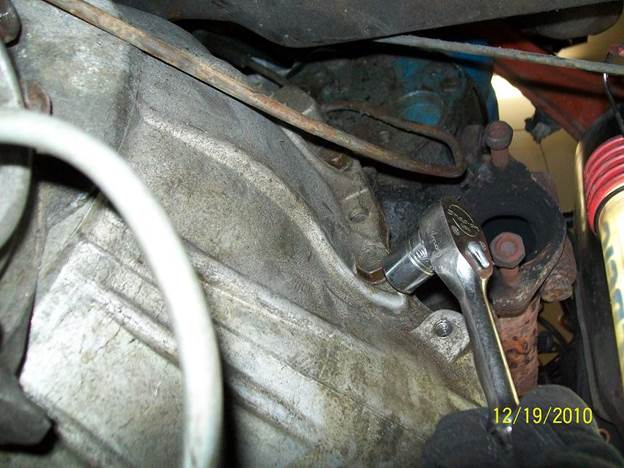
15. At this point, the transmission should be connected to the engine and nothing else. Remove the 5 bellhousing-to-engine
bolts (5/8” head). There should be 2 on the lower left and 2 on the right (pictured), and one directly up top. I found that the
4 lower ones were easily accessible from under the car, especially if the exhaust pipes are detached from the manifolds.
The upper one was more easily accessible from above through the hood.
16. Slowly work the transmission free by moving it backward and downward one bit at a time. Be sure that the transmission
is free and clear of all loose cables and lines as you bring it down. Also be sure that the weight of the transmission is centered
on your jack so that it doesn’t slip off. In other words, be really careful. And that's that - you're done!
back